While the lighting makes or breaks the shot between an ordinary and an exceptional product photograph, the level of expertise shared by the best product photographers shows excellent control over different lighting techniques for capturing tremendous and impressive product shots. Let's look at the role of lighting techniques in product photography and provide some extensive tips and strategies to help you shoot like a pro.
Importance of The Lighting Effects on Product Photography
Details, Textures, Colors
Sufficient lighting reveals each intricate detail of the product, textures, and natural colours to customers. Such clarity is essential in an online store where the buyer mostly depends on pictures while making a purchase decision.
Tone and Mood
The photograph's lighting sets its tone and mood, influencing how the audience and their emotional response perceive the product. Warm lighting can evoke feelings of comfort, while excellent lighting creates those impressions that are sleekly modern.
Enhancing Photograph Quality
Proper lighting minimizes harsh shadows and overexposed highlights, rendering the image clean and of high quality. It refines the enhancement in essential ways to maintain a professional attitude that will attract positive attention to your product.
Guiding Attention
Strategic lighting—illumination for critical features of the product. It guides the viewer to witness what's essential to the object. This could set a product with unique selling points apart, so it's vital.
Best Lighting Techniques For Professional Product Photography
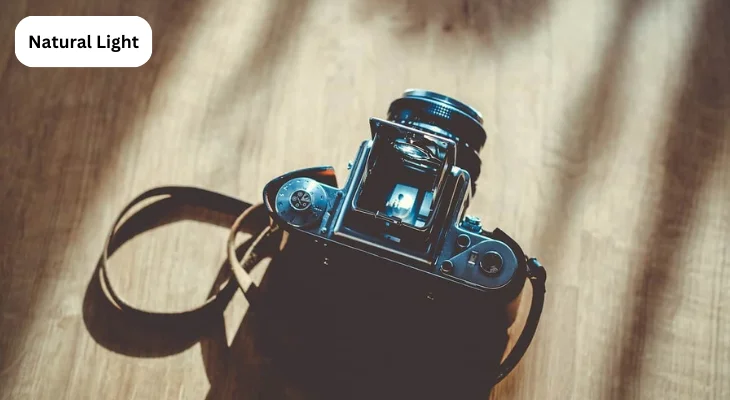
Natural Light

Soft Light : The natural light, especially in the golden hours—early morning or late afternoon—is soft and diffuse; thus, no harsh shadows fall, and there is a warm glow.
Reflectors

Bounce natural light onto the product with reflectors. It will provide even illumination to the product and illuminate the areas where needed. This sort of technique fills up the shadows and creates a balanced exposure.
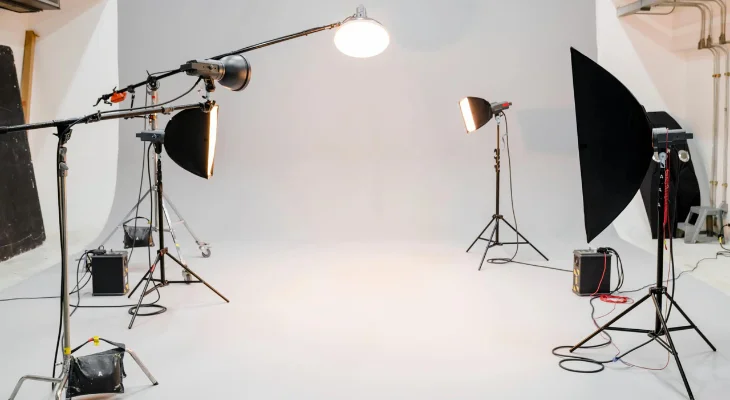
Use Artificial Lighting
Continuous Lights : These are very good for beginners because one can instantly see how the light works with their subject, thus making adjustments more accessible and intuitive.
Flash & Strobe Lights : These shall deliver powerful illumination, controlled for professional lighting setups, making lighting control very accurate. They are pretty good at taking high-quality images where one requires consistent results.
Understand Light Modifiers

Softboxes : These diffuse light, killing off the sharp shadows and sharp highlights to create an incredibly soft, balanced light. They are perfect to ensure a professional, polished look.
Umbrellas : While one diffuses light to soften the effect further. Either one may create a light full of flattery, reducing harsh contrasts.
Diffusers : These spread out the light to minimize shadows and create an enhanced feeling of soft lighting. They become instrumental in creating a natural look that most resembles daylight.
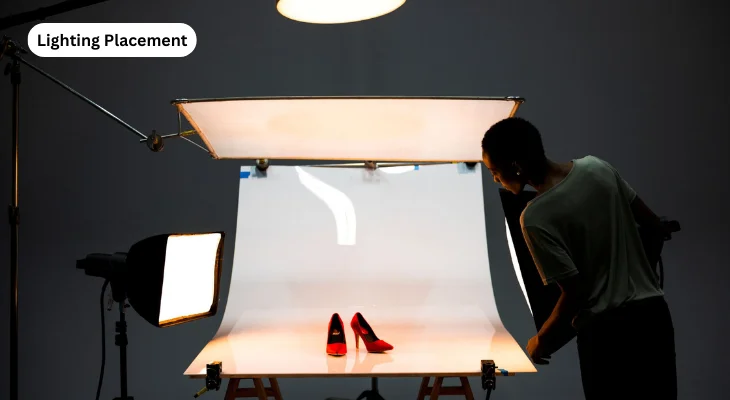
Play with Lighting Placement

Front Lighting : It lights up the product evenly, sometimes making it look flat. It's best used with other light sources to build up dimension.
Side Lighting : Creates shadows on one side of the object to give texture and dimension. This is very effective in bringing out form and depth in a product.
Back Lighting : Creates drama that outlines the product's shape, adding a halo effect. This technique is mainly used to create a striking, memorable shot.
Top Lighting : This lights up from top to bottom with equal lighting, suitable for flat-lay photography. It is a setup where every element in the shot is visible properly and is well-lit.
Avoid Direct Lighting : The direct light creates hot spots and hard shadows. On the other hand, diffused or reflected light offers a balanced look wherein it highlights the product without overwhelming it.
Use of Multiple Sources of Light : Multiple light sources lessen the impact of shadows and light more of the composition. A three-point lighting system is often implemented to create a well-balanced lighting scheme. It typically consists of one leading light, a fill light, and a backlight.
Use of Multiple Sources of Light : Multiple light sources lessen the impact of shadows and light more of the composition. A three-point lighting system is often implemented to create a well-balanced lighting scheme. It typically consists of one leading light, a fill light, and a backlight.
Control the Environment : Avoid undesired colour casts by conducting the shoot in a location with neutral-coloured walls. You can develop a space for controlling reflections using black or white foam boards as bouncers or absorbers of light when needed.
Play with Light Distances and Angles : Distance and angle of light from the product are everything here. Feel free to move your lights around and see how different positions affect the product to create these various effects and highlights.
Post-Processing : Post-processing can help improve your photos, even in perfect lighting conditions. Adjust the editing software's brightness, contrast, and shadow/highlight functions to fine-tune your images and ensure they look polished and professional.
Additional Tips to Help You Improve Your Product Photography
- Light Tent : A low UC tent offers equal illumination from all sides, thus killing the formation of sharp shadows and reflections. It's effective for photography of small objects by providing consistent lighting with a clean background.
- Experiment with Filters and Gels : Using colourful gels or filters creates exciting lighting effects that interest customers in your products. They can add a touch of creativity, giving your photos a bit of differentiation from others
- Shadow Construction : Dimension and depth are added to your product photos if they have shadows. Play around with shadows to get that professional look that adds interest to the shot.
- Light Should be Consistent : The same light on every product image gives your brand the exact look. This step is crucial in building up a portfolio through which customers can recognize your identity, and it will thus seem very professional.
Book The Best Quality Product Shoot On A Budget
Finally, it requires knowing how to play with light to get great and professional product photography. Mastering the different lighting techniques and experimenting with them will help you bring out the best in your products and take striking photos to attract customers and hold their attention. Satisfy your creative side here for more information on the top product photography services in Coimbatore from Pavithra Photography.


